Installation
Adding the asset to your project
Before you start, make sure you have Poiyomi shader and VRCFury (creator companion or ALCOM) added to your project.
This asset was created with Poiyomi 9.0. Newer versions should work as well.
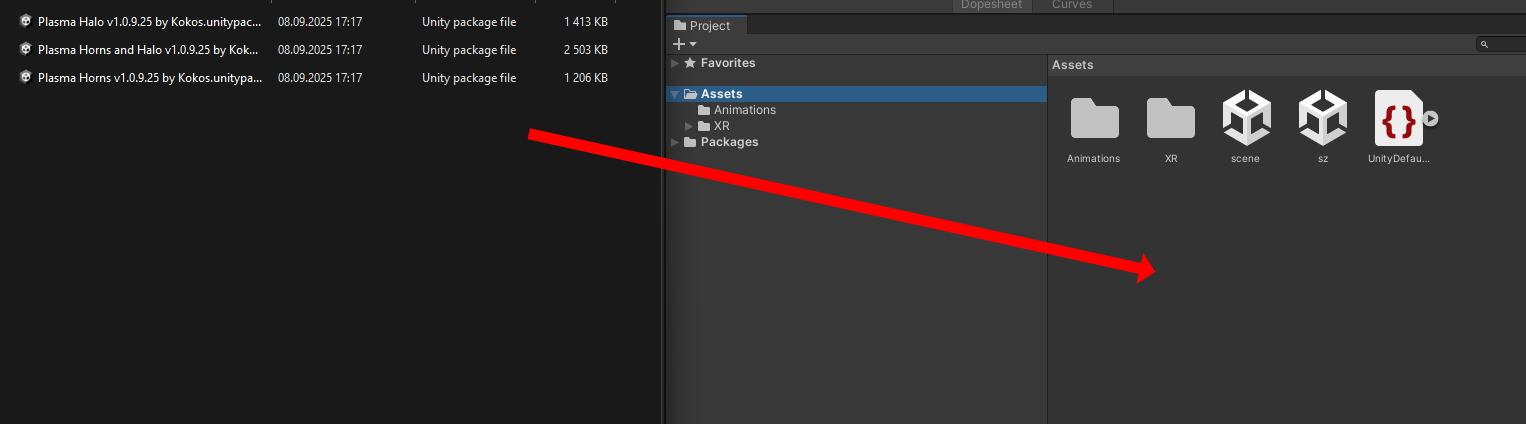
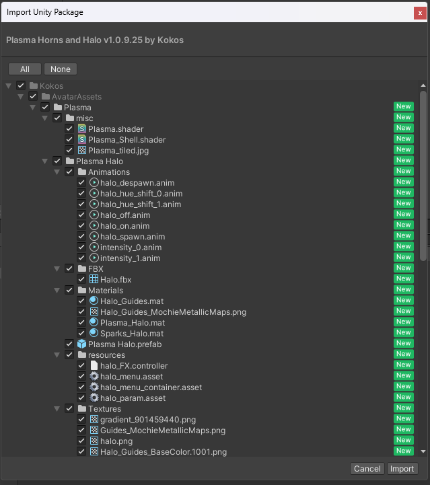
Add the asset to your project by dragging the "Plasma xxx vx.x.x.xx" into the project file explorer window and clicking on "import".
After adding the package, the asset will be located under
Assets->Kokos->AvatarAssets->Plasma->Plasma Halo/Plasma Horns.
You can now drag and drop the Halo/Horns directly onto your avatar.
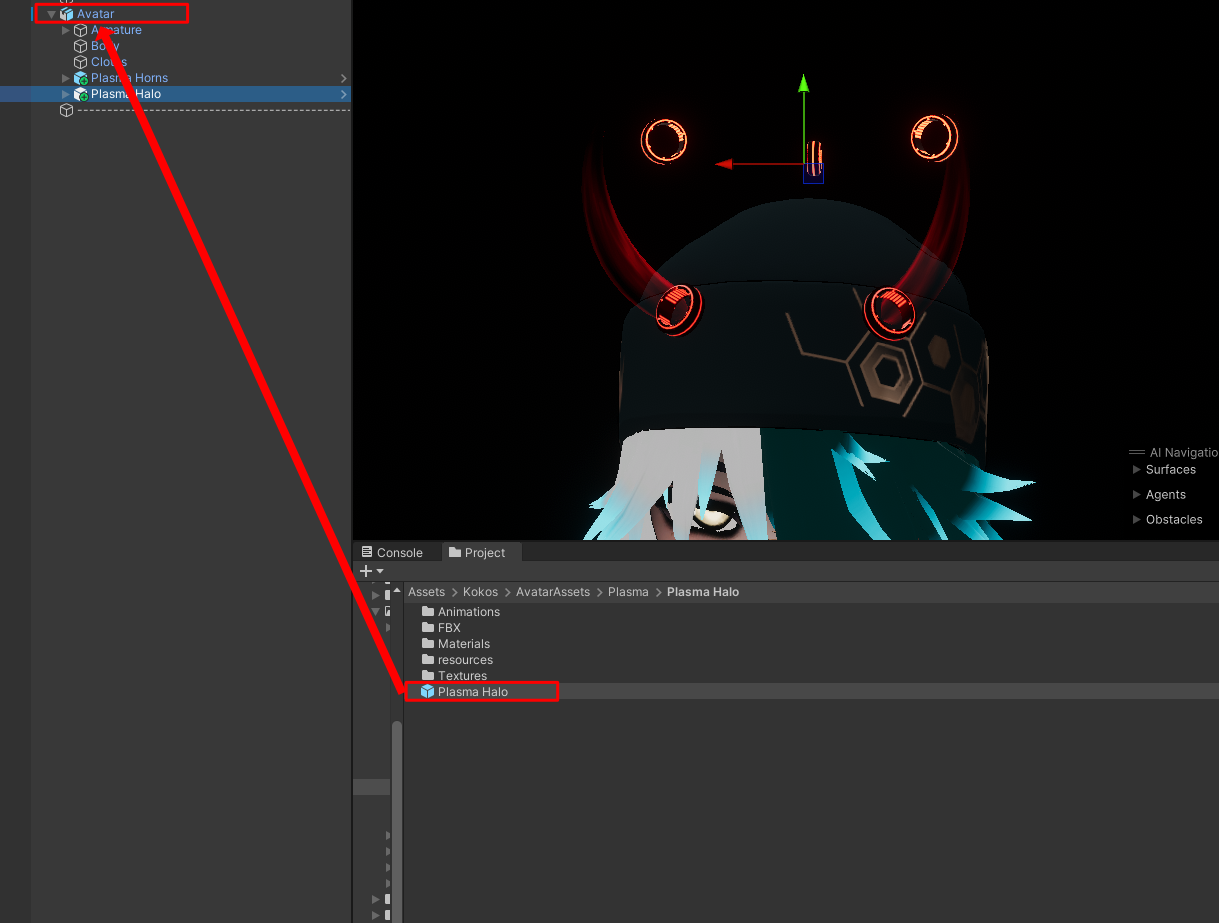
Position / Rotate / Scale the prefab until it fits your avatar.
Move menu
If you want the asset’s menu to be added to one specific menu of your avatar (like an Extras menu), just select the prefab in the project file browser.
In the inspector, look at the 'Full Controller' component.
There you can type the name of your target menu (e.g. 'Extras') into the menu field.
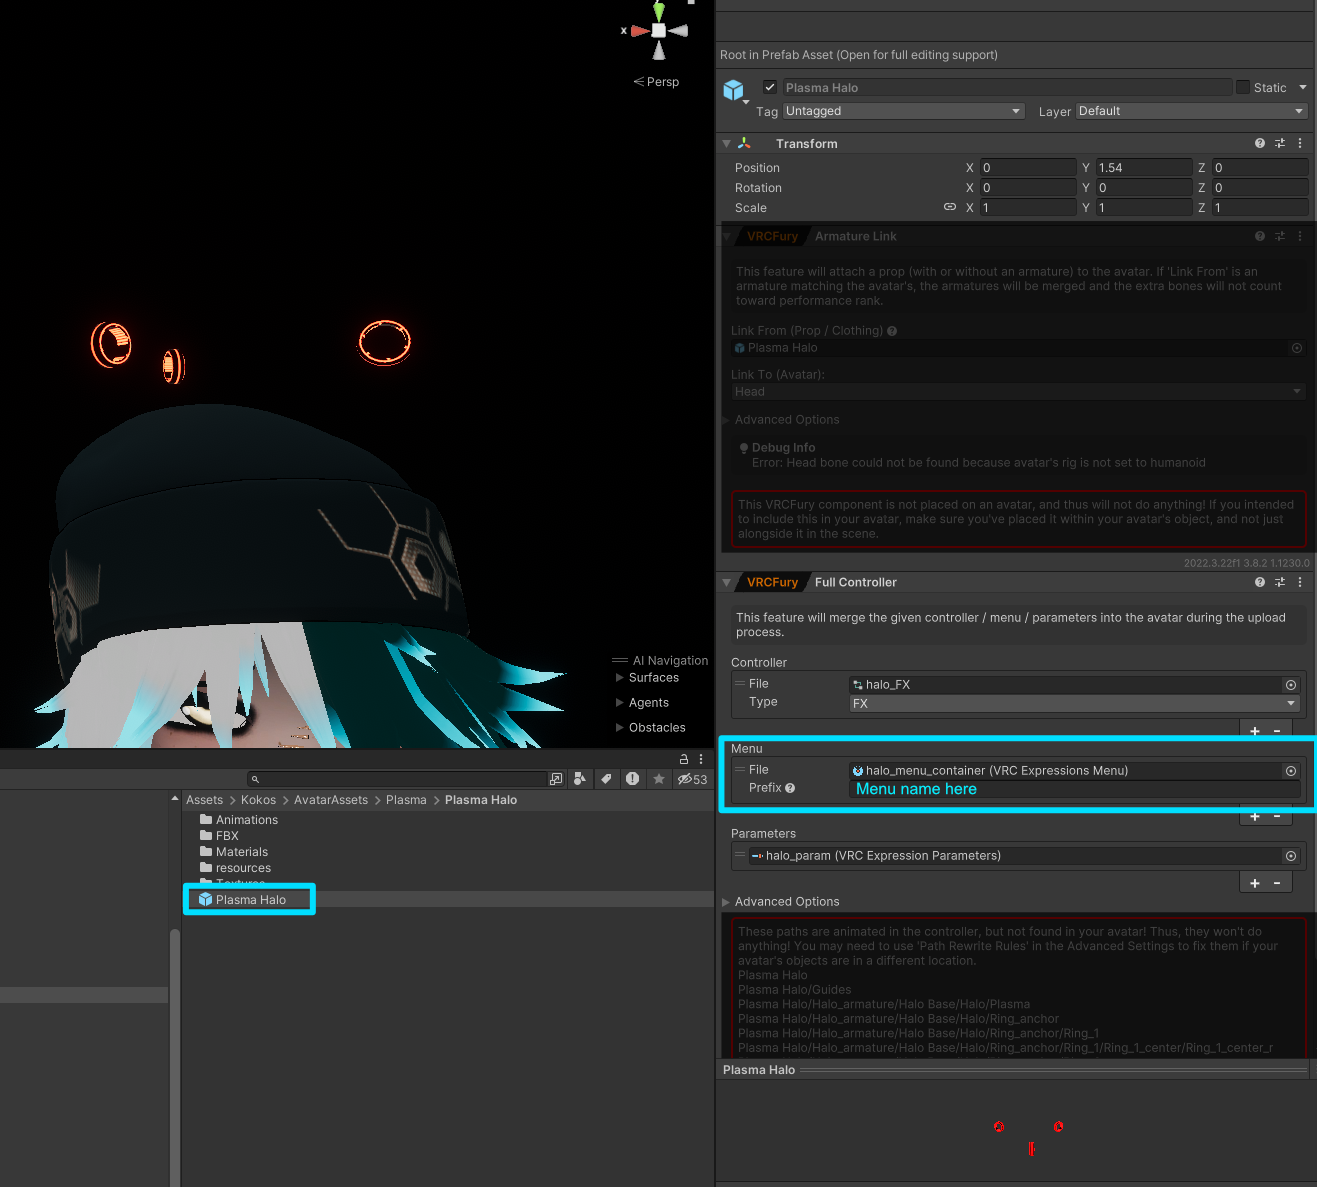
That’s it.
If you have an avatar emulator added to your project, you can test it directly in Unity (highly recommended → add via Creator Companion).

Feel free to make changes, expand and adapt this asset to fit your needs.
If you encounter bugs, missing features, or run into troubles, feel free to reach out.